


Give it to Meme Aha aha

Info pic for slope-intercept form applications
Most of us are familiar with Memes; these are pictures with text meant to be funny and spread rapidly through the internet. The purpose of memes is for entertainment, and it does get the attention of many audiences. Even before the rise of the popularity of memes, people are already familiar with info pics. Info pics are like memes, but the significant difference is that info pics are not meant to be humorous. Both Memes and info pic have the same element, the image and text, and the purpose of getting the audience's attention.
For week 6 of my CI6161 course, we have multiple assignments that I enjoyed working on. We need to produce an info pic and infographics to get our students' attention for the blended course and one to three-minute videos about the blended course I am creating. Various tools are available in creating an info pic. One of the tools I prefer to use is a smartphone app called pic collage. It is user-friendly, and I can take a picture with my phone and edit it using the app. Tony Vincent shared different tricks and tips when creating an info pic, and I attached the link below. One of the pieces of advice that I used to make my info pic is to use a black and white picture and add text to it.
When creating the info pic, my first idea is to find a picture online, add text, and call it a day. But as I was looking for a photo, I started asking myself if the images online would get my students' attention or stick to them? Through the classes that I took in my EdD program, I learned that students connect to the teachers when they see that you make their learning personal, and of course, I teach middle school students. What do middle schoolers want to do? But to make fun of their teachers. I decided to use my picture and made sure that the image looked funny. I included a math problem related to one of the teacher problems that my students are familiar with: pencil supply.
I took a black and white photo of me then included some text. I know I will get my students' attention once they see the picture. They will also read the text, which is a great way to expose them to the content.
Tony Vincent's Tips for Creating info pics https://www.youtube.com/watch?v=IJX43E0X6CI
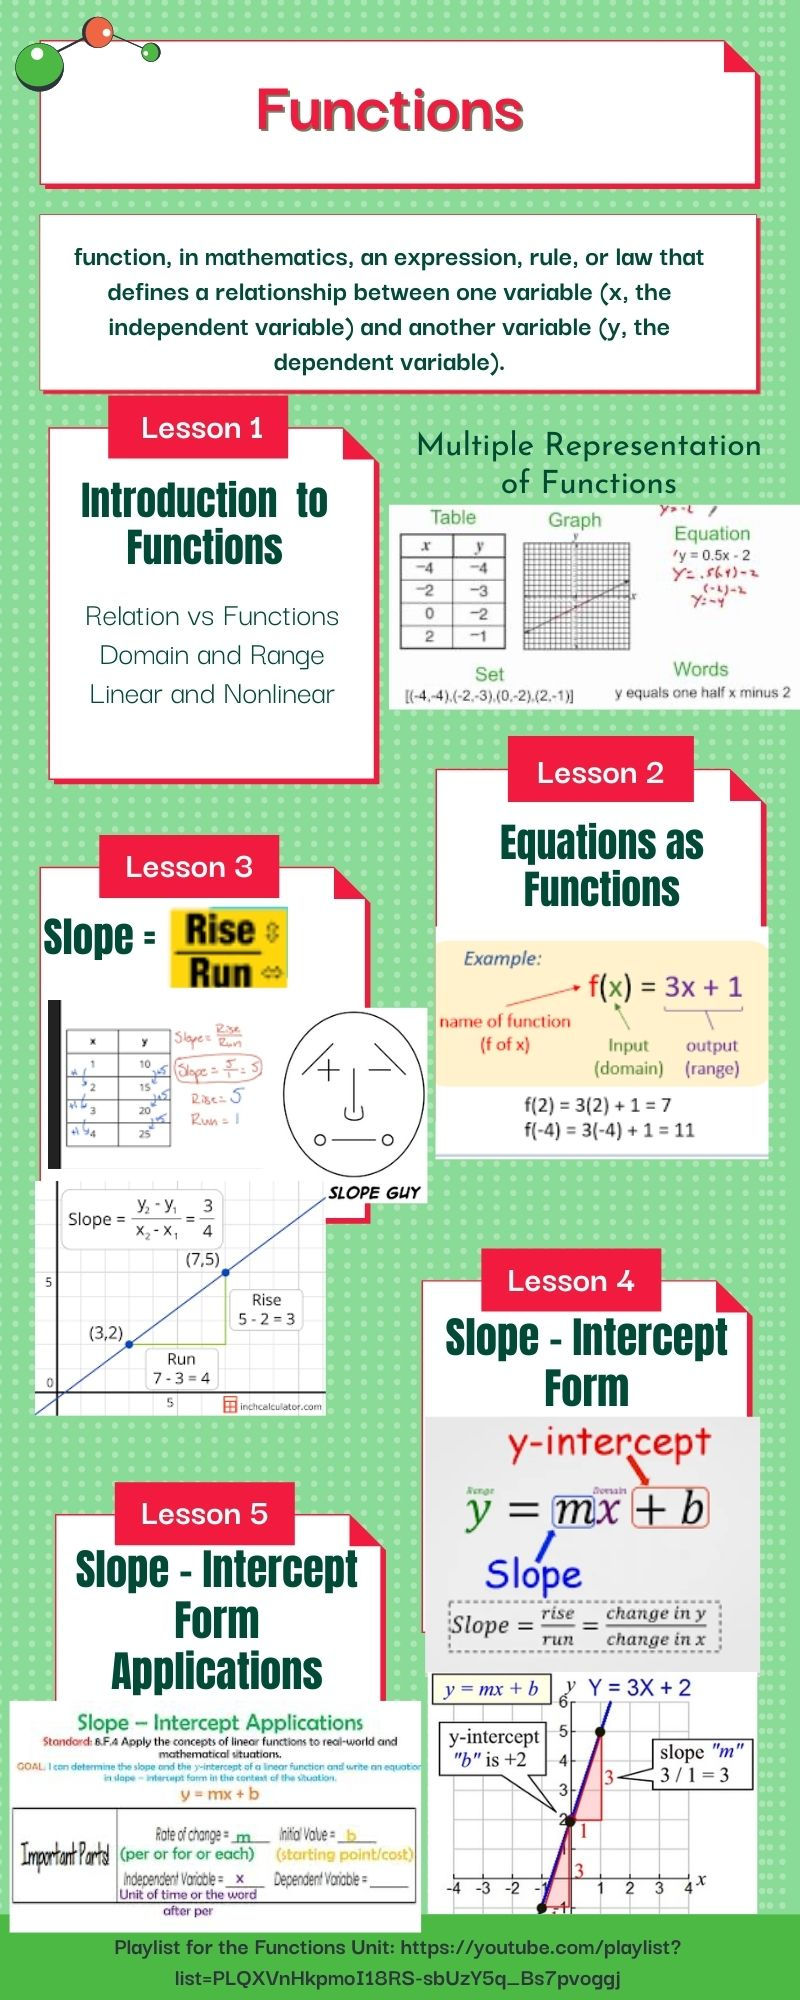
Info pic and infographic are two different things, and you can use the same tools in creating both of these outputs. The significant difference between the two is infographics give more information about the content. I use the online software tool Canva for my infographics. I will use Canva to create infographics and print them as poster signs to display in my classroom. The infographic that I created has tidbits of each lesson included in the blended course.
Last but not the list is the one-to-three-minute video. I was trying to do the least for this assignment because I am not comfortable talking in front of the camera, but I encountered a problem when trying to upload the video that I shot using my phone. I looked for an alternative way, and I tried Flipgrid. I made a great decision in trying to explore it. I put clips together and put some images that helped me describe the blended course that I am designing. I did not have much trouble uploading it because Flipgrid's video is made for online viewing.
Blended Course Design by Jenny Ducker: https://flipgrid.com/s/EDZtyA3VFkHq
My takeaways for this week are more of using online tools for instruction. Many resources are available, but I do not have time or find time to try them and get out of my comfort zone. I am familiar with creating info pic and infographics as I do it whenever I send Christmas cards, but learning Flipgrid was the biggest takeaway for this assignment. I thought I was a news reporter when I was creating my video. I am thrilled to what are the next assignments that we will have for my curriculum and instruction classes!!!



Comments